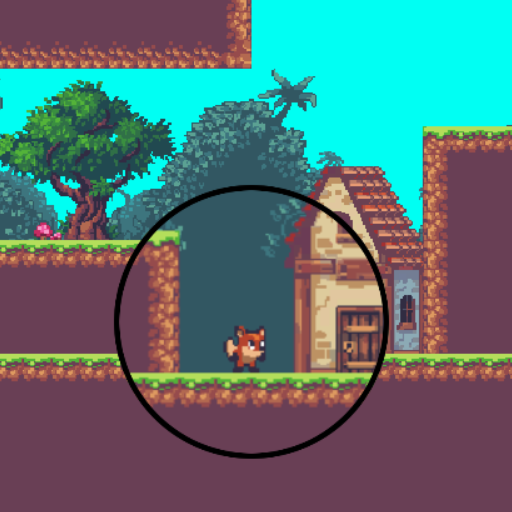
Magnifying glass shader tutorial
This tutorial is going to be a little bit different. We’re going to have a complete shader from the start and we’ll be trying to figure out how to manipulate tiling and offset to achieve the desired effect.
1

shader_type canvas_item;

uniform vec2 tiling = vec2(1,1);
uniform vec2 offset = vec2(0,0);

void fragment()
{
	vec4 color = texture(SCREEN_TEXTURE, SCREEN_UV * tiling + offset);
	color.a = texture(TEXTURE, UV).a;
	COLOR = color;
}
As you can see the only thing this shader can do is change the image tiling and offset. If you set tiling on the X axis to be less than 1 you’ll see that the image is stretching horizontally to the right, the same goes for Y axis with stretching going up. The reason for that is the origin of the SCREEN_UV is at the bottom left corner. If we have the magnifying glass object at the center of the screen and set the tiling to something like 0.7 on both axis the image is magnified, but it’s not aligned with what we should be seeing, we need to offset it to match the background.

Set the offset to be 0.15 on both axis and you’ll get the proper alignment!
But there’s a catch – move the magnifying glass somewhere else from the center of the screen and you’ll set that the effect is broken. We need to find a way to calculate the offset to keep the magnified version of the screen aligned based on the object’s position on the screen and the tiling amount. Essentially this is remapping of values which we already encountered in the dissolve shader tutorial. But this time we’ll be doing it in a script!
We need to keep in mind that another thing that affects the result is the screen resolution, which is essentially the size of our texture.
Heres the script that you need to put on the magnifying glass object for the effect to work. We get the screen size and use it with object’s position and zoom value to calculate the offset. We use a slighlty different calculation for the Y-axis because the world Y-axis goes from top to bottom and Y-axis of SCREEN_UV goes from bottom to the top.
Change the zoomIncrement to a value you think looks good for your game.
1

extends Node2D

export(float) var zoomIncrement;

var zoom = 0.0;
var xOffset;
var yOffset;

var screenWidth;
var screenHeight;

func _ready():
	screenWidth = ProjectSettings.get_setting("display/window/size/width");
	screenHeight = ProjectSettings.get_setting("display/window/size/height");
	pass

func _process(delta):
	xOffset = zoom * self.get_global_transform_with_canvas().origin.x/screenWidth;
	yOffset = zoom * (screenHeight - self.get_global_transform_with_canvas().origin.y)/screenHeight;

	var tiling = Vector2(1 - zoom, 1 - zoom);
	var offset = Vector2(xOffset, yOffset);

	self.material.set_shader_param("offset", offset);
	self.material.set_shader_param("tiling", tiling);
	self.position = get_global_mouse_position();

func _input(event):
	if(Input.is_mouse_button_pressed(4)): #wheel up
		zoom += zoomIncrement;
	if(Input.is_mouse_button_pressed(5)): #wheel down
		zoom -= zoomIncrement;
We have a working magnifying glass shader and we didn’t even write a lot of shader code!